
From Mud to Mug: A Beginner’s Guide to Wheel Throwing
Pottery is one of the oldest forms of artistic expression, and wheel throwing is at the heart of this timeless craft. For beginners, the idea of shaping spinning clay on a potter’s wheel can seem both exciting and intimidating. But with patience, practice, and guidance, anyone can learn to transform a lump of mud into a beautiful, functional mug. This guide will walk you through the basics of wheel throwing, so you can start your pottery journey with confidence.
Getting Started: What You Need to Know
Before you sit at the wheel, it’s important to understand the basic tools and materials involved. The primary material is clay, a natural substance made from fine-grained minerals that becomes malleable when wet. Pottery wheels come in manual and electric versions, but electric wheels are most common in studios because they offer consistent speed control.
You’ll also need water to keep the clay workable and a few simple tools such as a rib (for shaping), a wire cutter (to remove your piece from the wheel), and sponges (to smooth surfaces and keep the clay moist). Wearing comfortable clothes and tying back long hair will help you focus without distractions.
Centering the Clay: The Foundation of Wheel Throwing
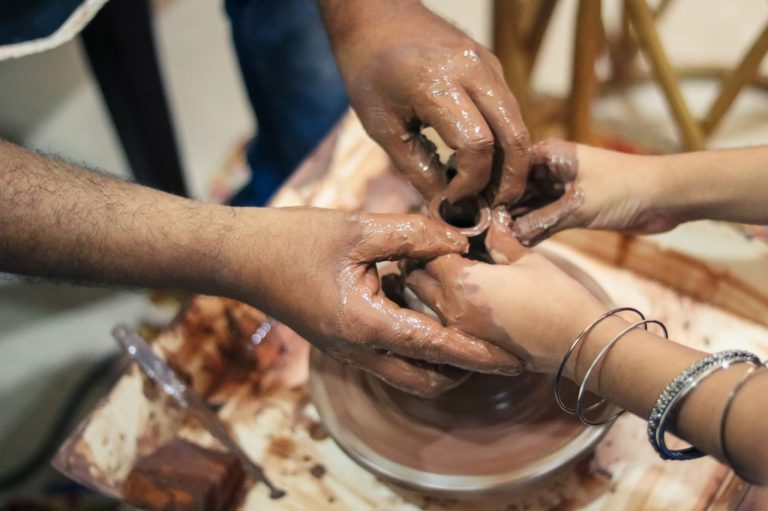
The first and most essential step in wheel throwing is centering the clay. This means positioning the clay lump perfectly in the middle of the spinning wheel. Centering can be tricky for beginners—it requires steady hands and even pressure to ensure the clay spins smoothly without wobbling.
To center the clay, start by slapping the lump onto the wheel head and wetting your hands. As the wheel spins, use your palms and fingers to press the clay inward and downward, keeping it balanced. This step is crucial because if the clay isn’t centered, shaping it will be much more difficult. Many beginners spend a lot of time mastering this technique, and that’s perfectly normal.
Opening and Pulling Up the Walls
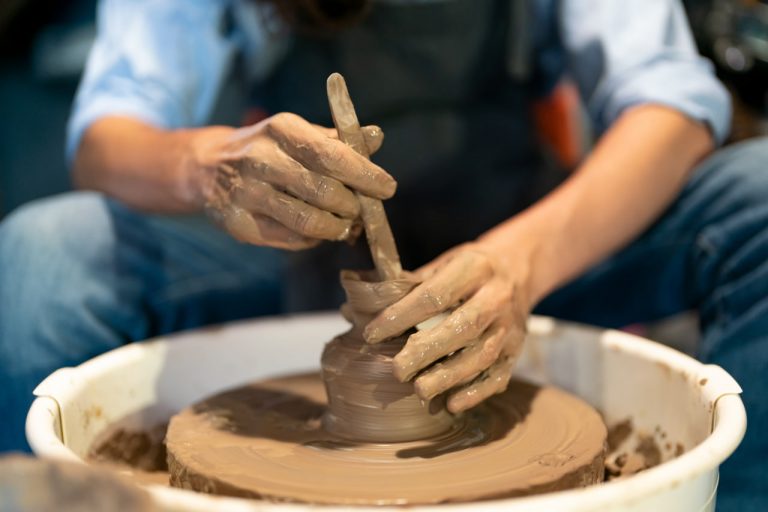
Once the clay is centered, the next step is opening it up to create the hollow space of your mug. Using your thumbs, gently press down into the center of the clay while keeping the wheel spinning. This creates the cavity inside the pot.
After opening, it’s time to pull up the walls. Place your hands on opposite sides of the clay and slowly pull upward, applying even pressure to thin and raise the walls. This process requires patience and a light touch—too much pressure can collapse the piece. With practice, you’ll develop a feel for the right amount of force and speed.
Shaping and Refining
As the walls rise, you can start shaping your mug. Using your fingers or a rib tool, smooth the surface and define the form. You can create straight sides, curves, or flare the rim depending on your desired style.
Throughout shaping, it’s important to keep the clay moist but not overly wet. Using a sponge, gently dab excess water to maintain an ideal consistency. The wheel’s speed can be adjusted to help control the shaping process, slowing down for delicate details or speeding up for broader strokes.
Trimming and Finishing Touches
Once your mug takes shape, the final step on the wheel is trimming the base. This is usually done after the piece has dried to a leather-hard stage, which is firm but still workable. Trimming removes excess clay from the bottom and can add a foot ring for stability and aesthetic appeal.
After trimming, you can add handles or decorative elements by hand. Attaching handles involves scoring and slipping—the process of scratching the surfaces to be joined and using a clay slurry to bond them securely.
The Journey Beyond the Wheel
Your freshly thrown mug is far from finished after wheel throwing. It will need to dry slowly and evenly to avoid cracking. After drying, it undergoes bisque firing in a kiln, which hardens the clay and prepares it for glazing. Glazing adds color and a protective finish, followed by a final glaze firing that vitrifies the piece.
Each step beyond the wheel requires its own attention and care, but it all begins with mastering the basics of wheel throwing.
Tips for Beginners
Wheel throwing is a skill that improves with time. Don’t be discouraged by early mistakes or uneven pieces—they are part of the learning process. Take your time centering the clay, listen to your instructor’s guidance, and practice regularly.
Remember to breathe and enjoy the tactile connection with the clay. Pottery is as much about the process as it is about the finished object.